Words by Melanie Winter
Interview with Jeff Stopforth
Images by Iain Evans

I was sitting in a cafe in Canggu, Bali and my friends and I ordered three cortados. They arrived at our table, all in a sweet little line, one had ‘I’ etched on top, one had a perfect little free pour heart and one had ‘U’. It was very simple latte art, to be sure, but I can tell you, I’ll never forget that simple gesture. Latte art brings smiles to coffee lovers all over the world on a daily basis.
“Well, I think the important thing about latte art is that if you get a beautiful design in your coffee, then you know that your barista has skills. If they care that much about learning to make a pattern in your coffee, then they’ve also had to learn to extract a good espresso and texture the milk perfectly to be able to achieve that result. It also means that the barista is passionate, they really care about it if they’re putting that much effort into the art.”
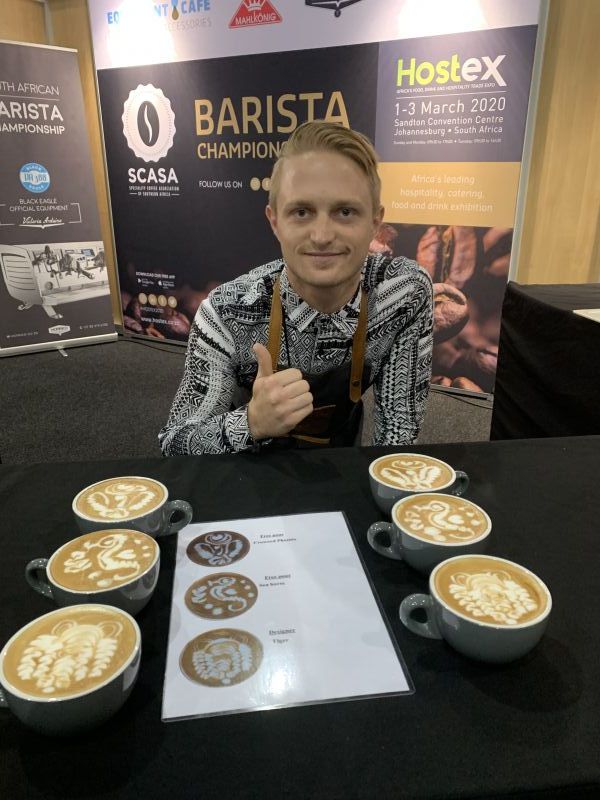
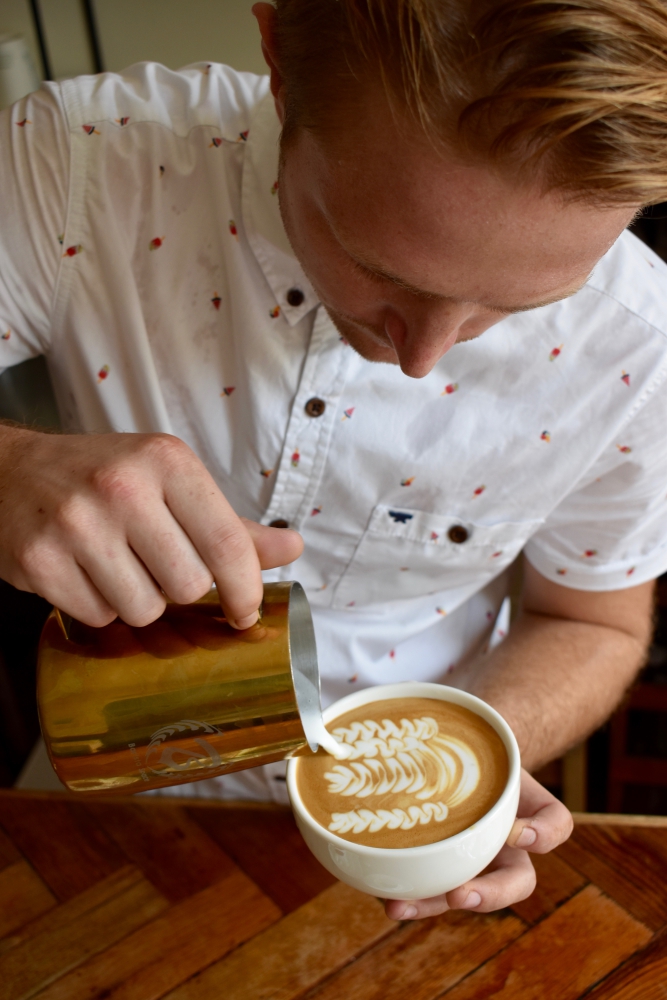
Wise words from the 2020 SCASA South African Latte Art Champion, Jeff Stopforth, who poured a Crowned Phoenix, a Seahorse and a Tiger (two of each no less!) in under 12 minutes; a veritable menagerie in latte cups. No, really! See the picture for proof! You don’t often see these expert level pours in cafes, because they take some time to perfect. Ask Jeff, he’s put some serious hours into getting them right and it paid off, he’s got a ticket to the World Champs in Greece next year.
“In fact, I started learning about coffee because I wanted to learn to do latte art! I watched hundreds of youtube videos, but soon realised that if I wanted to do the art I had to learn the basics first. Dylan Cumming from Beaver Creek, took me under his wing and taught me all the skills I needed.”
Beaver Creek Coffee Farm just outside Port Edward on the KwaZulu Natal South Coast has a wonderful training and tasting room where all the magic happened and Jeff became an artist.
“So then I was completely hooked, I was making, and drinking, like 10 cappuccinos a day so I could practice. I was inspired by the first guy who spent time on latte art and made it into a real thing. He’s a guy called David Schomer.”
Some of the earliest recorded latte art was poured in the late 80’s, some would definitely have been poured by accident somewhere along the way, but it is attributed and was popularised by David Schomer in Seattle in the early 90’s. He believes it was already a staple in Italy. Schomer was perhaps the first ‘coffee celebrity’. He wrote and self-published the now iconic Espresso Coffee: Professional Techniques in 1994, quite some time before writing about coffee was fashionable. His advice when coming up with new designs is to try pour something that represents yourself. We’re excited to see what that means for Jeff’s choices when it comes to his designs for the world competition.
There’s a whole section of this subculture that is dedicated to experimenting with colours and etching. And a quick search on the Instagram will uncover a whole new world of rainbow lattes and working with different colours for etching (as seen in the picture here) and different bases, like beetroot lattes which look (and also taste a bit) like strawberry milkshakes.
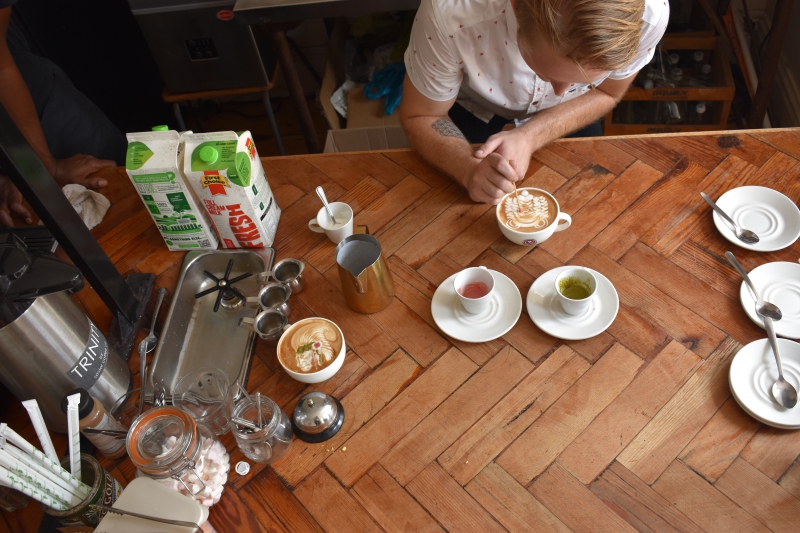
These designs were shot on location at Savior Cafe in Durban, using Beaver Creek beans and delicious milk from First Choice (Woodlands Dairy).
What advice does the Champ have if you’re looking to try learn to do some latte art at home? Watch a lot of videos! The technique doesn’t just come naturally, you have to learn it. That effortless wiggle that you see from your local barista didn’t just happen overnight.
“Just be patient. Just keep on going at it. Once I got that first pour in the cup, I came back the next day and I couldn’t do it! But eventually I could do it more consistently with some patience.”
Steam milk that looks like wet paint, that’s the goal! This may seem like a given, but focus on steaming good milk first. Also it may go without saying, but you should also start with good quality milk, whether dairy or otherwise. Not only will you set yourself up for success, but your drink will taste better, too. If you add too much air? You’ll end up with thick and foamy milk. Too little air? You’ll end up with no texture. Too hot? Less sweet milk. It’s a lot to keep in mind, but finding the balance is worth it. So how do you get to the balance? Aim for creating a whirlpool in your milk jug. Test the power of your steam wand before you start. Not opening the steam release fully means that you’re heating the milk without doing any texturing. Figure out the strength of your steam before you attempt creating microfoam. The steam ripping through the milk should make a sound like tearing paper. Well-textured milk is key to achieving latte art greatness!
In the last couple of years, the equipment has also evolved to keep up with the adventurous designs being dreamed up by these talented individuals. A jug is a jug right? Nope. “Ja, the jug is very important, I’ve got two new jugs coming from Barista Swag and ADA Crew. It’s all about how the jug feels in your hand and for me the most important features are the handle and the spout. A jug with a longer and thinner spout allows for more precision and a wider handle allows for more options when it comes to gripping the jug for different angles.”
Innovation and technique are important if you want to be noticed as scores of new latte artists pop up all over the world.
“A couple years back Caleb Cha won the competition with The Caffeinated Zebra (a zebra holding a cup of coffee) for his design pour (etching allowed). Now people are pouring that freehand, no etching, which is crazy! It’s pretty wild to see how quickly it’s changing. Check out Liang Fan (@baristafan) on Instagram, he’s my current hero. All his pours are perfect, it’s like he moves the milk with his mind!”
Jeff is up to the challenge though, it is clear in talking to him, that he just really loves doing latte art and is incredibly stoked to have earned the opportunity to share the stage with some of the best in the world. The young man from the South Coast plans to remain humble and focused, but when it comes down to it, he’ll always return to the simple classic, a crowd-pleaser for coffee drinkers everywhere.
“A rosetta is still my favourite thing to pour, because there’s never two that are the same and you can always be trying to do it better. But whatever the result, it always looks beautiful.”
The professionals say there are four key things to look for if you want to choose a milk pitcher: Shape and Size, Material and surface treatment, Spout and the Handle.
THE SHAPE AND SIZE
Making thick, smooth micro-foams requires patience and dexterity. Without it, no latte art can be achieved. In the absence of bubbles, there is no opportunity to produce high-quality latte art. The ideal amount of milk should be at the bottom of the spout, about 1/3 of the way. Both shape and size play a role in the foaming capacity of milk jugs. Some pitchers use straight-edged walls, while others rely on bell-shaped bottoms. The bell bottom is said to aid in creating the all important whirlpool effect. When choosing the size of a milk jug, the most important thing is how much milk you need to drink your coffee. When it comes to milk steaming and foaming, you don't want your jug to be too full. An overflowing jug can happen all too easily when you’re dealing with high pressure steam!
MATERIAL
The ideal milk pitcher should be made of stainless steel and should have a slightly conical shape. In the process of frothing milk, its purpose is to capture and block most of the heat generated by steam, and promote the absorption of air. You want a jug made of high-quality stainless steel because it keeps the temperature constant while you steam it. That is, when you steam milk to 70°C, the milk jug will heat up with milk. If the walls of the jug are too thin, the foam may start to deteriorate quickly and you will not be able to knock the bigger bubbles out the foam well. You may have seen your local barista tapping his jug on the counter before starting to combine the milk with the espresso, that’s what they’re trying to do, getting their milk ready for the pour.
THE SPOUT
Although experienced baristas and professionals may make perfect lattes from any milk jug, a specific spout can make it easier to pour some designs. A good spout means the jugs are easier to learn with as a beginner barista and easier to train with for the professionals. Most people start their latte art journey with heart-shapes and tulips. A classic or standard pitcher not specifically for latte art is perfect for these classic shapes. It allows for a thicker stream of milk to be poured which helps the milk to push through the cream giving the definition necessary for these round shapes. On the other hand, the traditional rosetta and exquisite detailed art (such as swan and peacock) need a narrower and sharper spout for the delicate lines. This gives you more control over the detailed design.
THE HANDLE
Which handle you want depends on how you hold the jug while pouring, which you quickly figure out as you go. Some people have found that when pouring, a jug without a handle gives them more flexibility. It also allows you to better hold the top of the jug, giving you more control and precision in your spout. But you also need to remember that you are steaming milk at high temperatures. Which is why most pitchers have handles. The latte art pitcher brands generally have a wider handle, so that you can slide your whole had against the wall of the jug for control.
Looking for a new milk pitcher to improve your skills? Here are a couple readily available options:
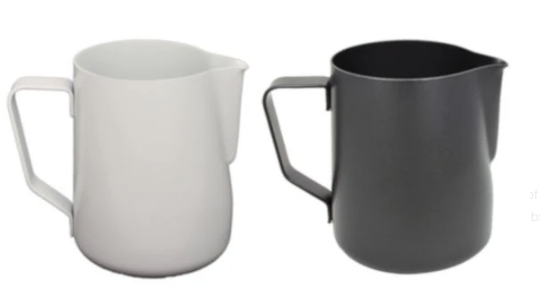
Stylish: Rhino® Stealth Milk Pitchers
Cost effective: Brew Tool Milk Frothing Jug
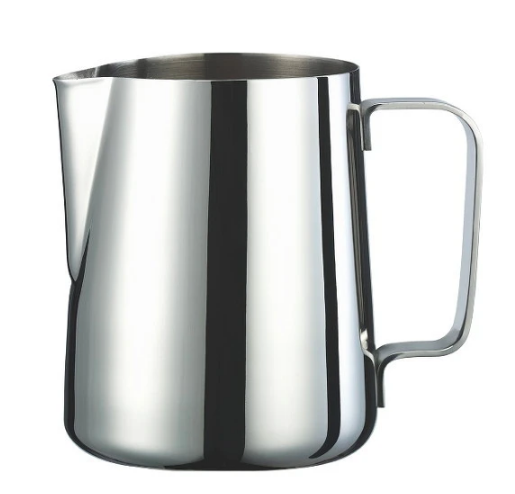
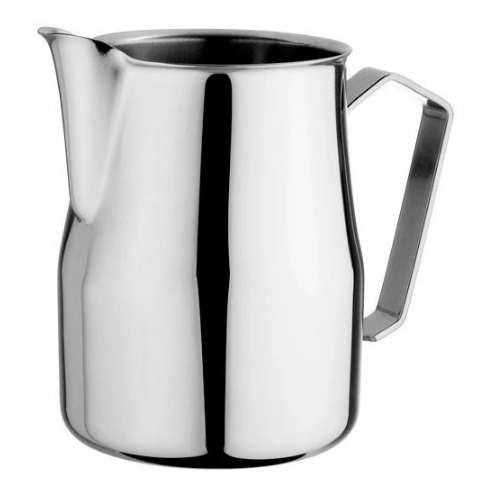
Classy: Motta Europa Milk Frothing Pitcher